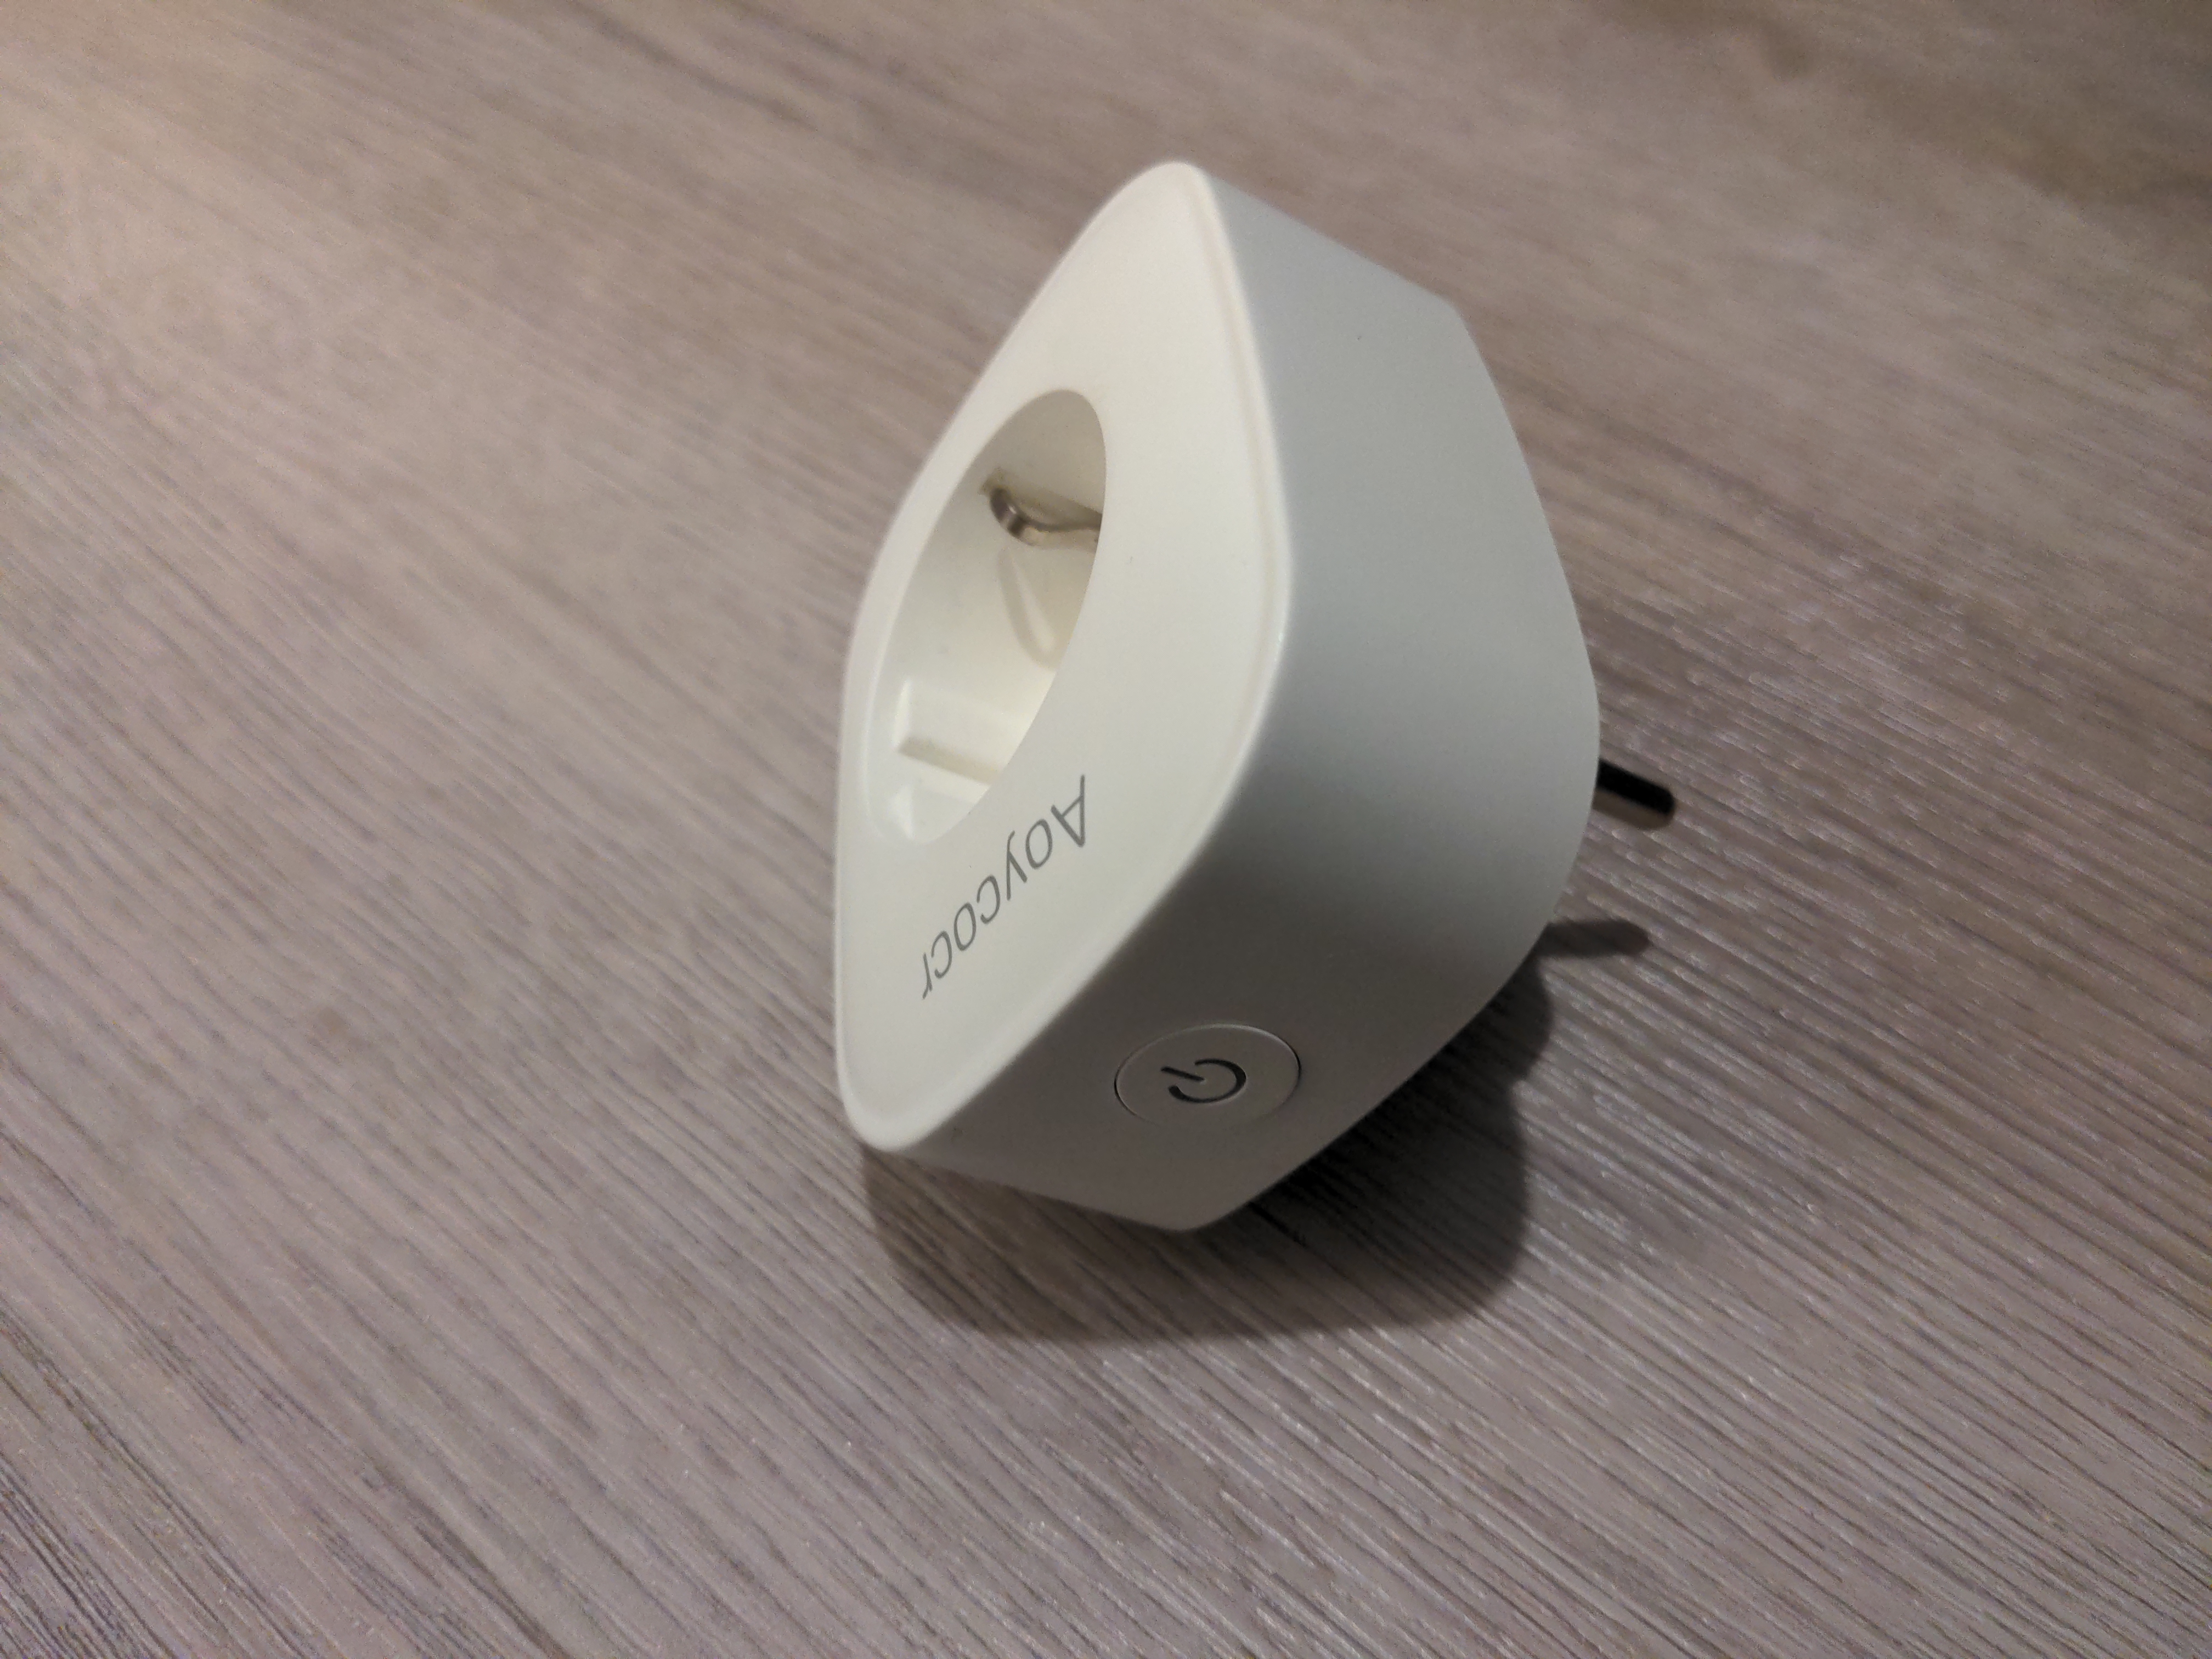
Aoycocr Smart Plug (EU6S)
The Aoycocr smart plug supports only 2.4 GHz wifi. It has a meter for
power consumption built-in.
Booting the smart plug opens a wifi access point "SmartLife-
Tuya
Tuya is a platform that provides wifi modules either with their own firmware or with customizations but all devices are shipped with the promise of Tuya that they are compatible with each tuya compliant app.
This fact ensures that tuya compliant smart plug like the Aoycocr EU6S can be easily flashed via tuya-convert.
tuya-convert
Since I am ordering smart devices on a regular basis and I don't want to setup the tuya-convert environment again and again I decided to bring it into a linux container on my lil home server with a wifi module built-in. If your box doesn't have wifi built-in a wifi dongle should helped out.
Unfortunatelly the tuya-convert tooling requires to setup a wifi AP at it's own and keep track on connected devices via a dnsmasq instance launched by tuya-convert.
On my box I had to install iw for wifi passthrough into lxc otherwise the interface
can't be renamed and moved into a network namespace. LXC needs to rethink that to implement
the kernel interface by their own.
To add the wifi interface wlan0 to your lxc container just add the following three lines into the container config.
lxc.net.1.type = phys
lxc.net.1.link = wlan0
lxc.net.1.flags = up
Follow the instructions on tuya-convert's readme for installation and flashing. Tuya-convert should come with a version of tasmota and ESPurna.
esphome
After setting up your tuya-convert environment it's time to flash esphome directly onto the smartplug.
Create a node config and press INSTALL -> Manual download.
# aoycocr-eu6s.yaml:
esphome:
  name: "Aoycocr EU6S"
  platform: ESP8266
  board: esp8285

# Enable logging
logger:

# Enable Home Assistant API
api:
  password: $api_pw

ota:
  password: $ota_pw

wifi:
  ssid: $wifi_essid
  password: $wifi_psk

  # Enable fallback hotspot (captive portal) in case wifi connection fails
  ap:
    ssid: $friendly_name
    password: ${wifi_ap_psk}

captive_portal:

binary_sensor:
  - platform: gpio
    name: "button"
    pin:
      number: GPIO13
      mode:
        input: true
        pullup: true
    on_press:
      - switch.toggle: relay

switch:
  - platform: gpio
    name: "relay"
    pin: GPIO15
    id: relay
    restore_mode: ALWAYS_OFF
    on_turn_on:
      - switch.turn_on: led
    on_turn_off:
      - switch.turn_off: led

  - platform: gpio
    name: "led"
    pin: GPIO2
    id: led
    inverted: True
As soon as esphome compiled your customized firmware a download dialog pops up.
Download the firmware and place it into the files directory of tuya-convert.
After starting the flash procedure the custom esphome firmware will be listed as available option. Select it and go ahead.
[...]
Ready to flash third party firmware!

For your convenience, the following firmware images are already included in this repository:
  Tasmota v8.1.0.2 (wifiman)
  ESPurna 1.13.5 (base)

You can also provide your own image by placing it in the /files directory
Please ensure the firmware fits the device and includes the bootloader
MAXIMUM SIZE IS 512KB

Available options:
  0) return to stock
  1) flash aoycocr-eu6s.bin
  2) flash espurna.bin
  3) flash tasmota.bin
  4) flash tasmota-lite.bin
  q) quit; do nothing
Please select 0-4: 1
Are you sure you want to flash aoycocr-eu6s.bin? This is the point of no return [y/N] y
Attempting to flash aoycocr-eu6s.bin, this may take a few seconds...
Flashed http://10.42.42.1/files/aoycocr-eu6s.bin successfully in 10620ms, rebooting...

HAVE FUN!
======================================================
Do you want to flash another device? [y/N] n
======================================================
Cleaning up...
Closing AP
Exiting...
Have fun with your new esphome device.